Choosing the right camera and lenses can transform your wildlife photography game. Full-frame DSLRs and mirrorless cameras tend to work best because they offer superior image quality and performance. When it comes to lenses, versatility matters. A good starting point is a 70-200mm lens for its combination of reach and flexibility. If you can, grab a longer prime lens, like a 300mm or 400mm, for those distant shots where getting closer just isn’t an option.
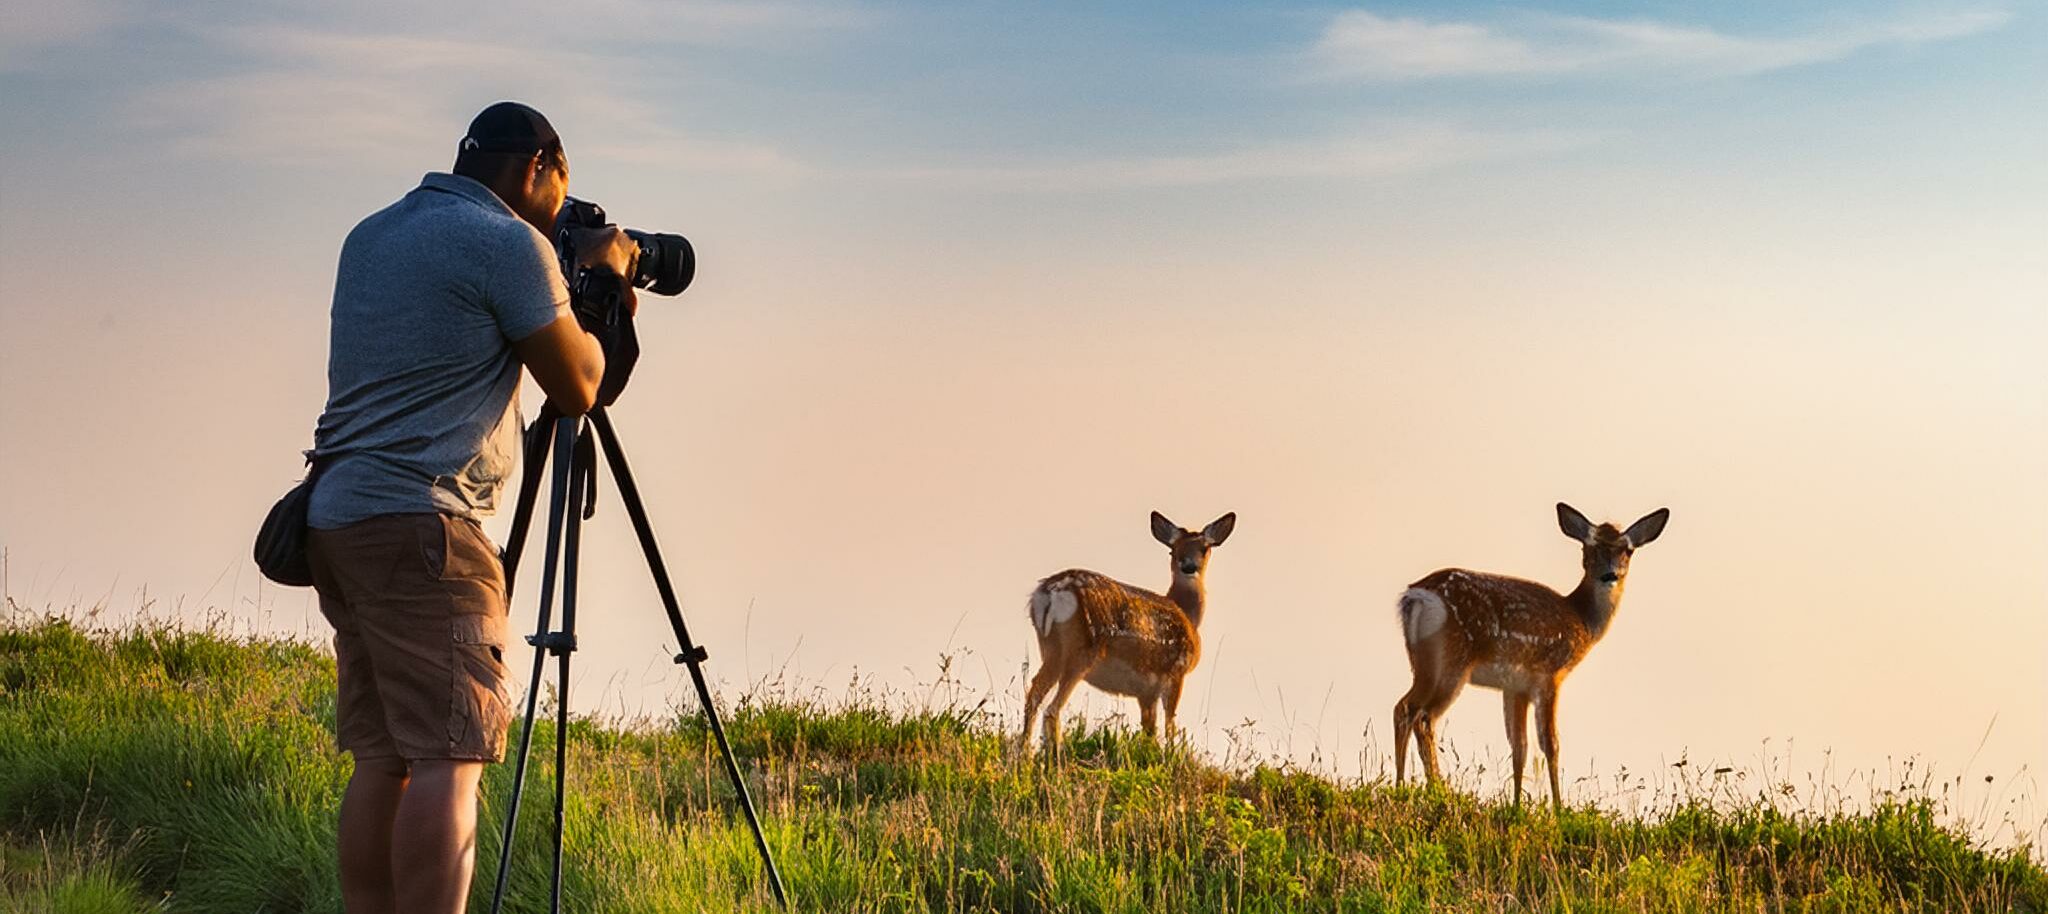
Tripods and other stabilization tools are your best friends in the wild. Wildlife can get hyperactive, and shaky hands can ruin a shot. Lightweight, sturdy tripods help keep your camera stable, especially in low light conditions and when you’re using heavy telephoto lenses. Consider investing in a monopod if you need something more portable. More stability equals sharper shots.
Remote triggers and shutter releases are worth their weight in gold. They allow you to take shots without even touching your camera, reducing the risk of camera shake. This is especially handy when you’re waiting for that perfect moment and can’t afford any movement. Wireless remotes add a layer of convenience, giving you the freedom to set up and shoot from a distance. If you do not have a remote trigger, set your camera at a 2 or 10 second delay. When you do this, you press the shutter button and the shot will be taken in 2-10 seconds without touching the camera.
Packing the right gear is crucial. Aside from your camera and lenses, include extra batteries, memory cards, and lens cleaning supplies. A good camera bag with weatherproofing can make all the difference. Some other handy tools include a rain cover for your camera, a flashlight for those early morning or late evening shoots, and maybe even a portable stool for comfort. Remember, you’re going to be out in nature for hours, so pack smart and keep it light.
Mastering the Basics: Techniques to Perfect Your Shots
Lighting can make or break your wildlife photos. Natural light is usually best, so aim to shoot during the golden hours—early morning and late afternoon—when the light is soft and warm. Harsh midday sun can create unflattering shadows and overexposed highlights. If shooting in less-than-ideal lighting conditions, consider using a diffuser or reflector to manage the light better.
Composition is another key element. The rule of thirds is a great starting point: imagine breaking the image into nine equal parts with two horizontal and two vertical lines. Place your subject along these lines or where they intersect to create a balanced, engaging shot. Also, try to capture some of the animal’s environment to provide context. Don’t be afraid to experiment with different angles and perspectives to find what works best.
I Was So Impressed With This Company, I Decided To Become A Member. PhotoWhoa Has A Huge Variety Of Classes You Can Take For Just About Any Scenario You Can Think Of! Just Click On The Banner Below.
Shooting in various weather conditions adds a new dimension to your shots. Overcast skies can offer a soft, even light that’s perfect for detailed shots. While rain can add drama and atmosphere, it requires extra care for your gear. Use weather-resistant equipment and covers to keep everything dry. Snow can be tricky but stunning; overexpose your shots slightly to avoid dull, gray images.
Patience and observation pay off in this field. Spending time studying your subject’s behavior can lead to more natural, compelling shots. Learn their routines and be prepared to wait for the right moment. The less you intrude, the more likely you are to capture genuine behaviors and expressions. So, set up your gear, stay still, and let the magic unfold.
Ethical Wildlife Photography: Respecting Nature and Wildlife
Maintaining a safe distance from wildlife is crucial for both their safety and yours. Understand the specific behavior of the animals you’re photographing to gauge how close you can safely get. Use a long lens to get those close-up shots without encroaching on their space.
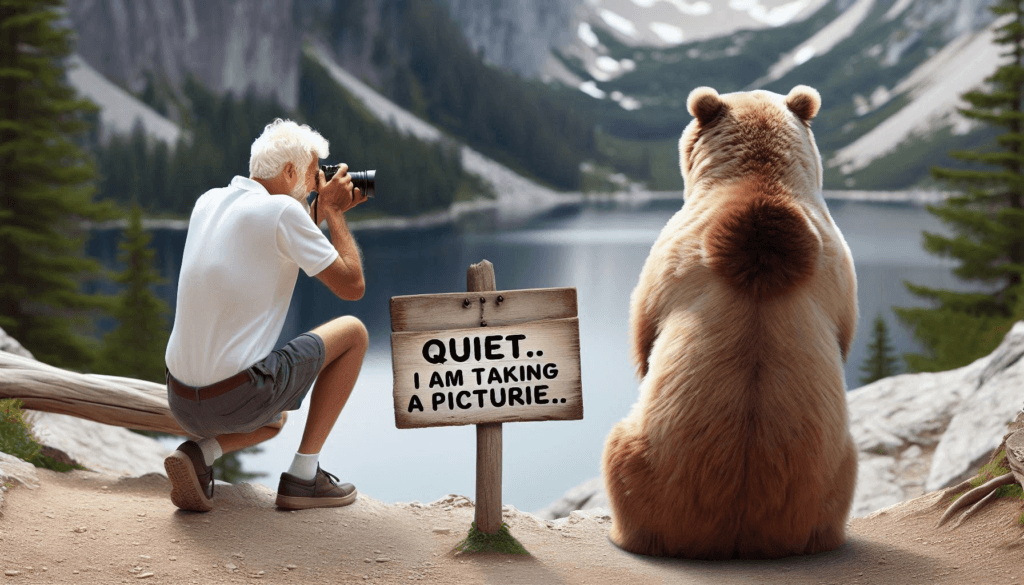
It’s important to recognize and respect animal behavior. Quick movements or loud noises can stress animals and disrupt their natural patterns. Move slowly, keep noise to a minimum, and avoid direct eye contact, which some animals perceive as a threat. Patience really is a virtue when it comes to wildlife photography.
The principle of leaving no trace is essential. After spending time in a natural habitat, ensure you leave it as you found it. This means packing out all your trash, sticking to designated paths to avoid trampling vegetation, and not disturbing nesting sites or dens. Your presence should be invisible.
Your work can actually contribute to conservation efforts. Many wildlife organizations use photographic evidence to support their campaigns and raise awareness. By sharing your photos ethically and responsibly, you help educate others about the importance of wildlife conservation. Moreover, tagging reputable wildlife conservation organizations in your social media posts can amplify their reach and impact.
Enhancing Your Photos: Post-Processing Tips and Tools
Basic editing steps can significantly improve your wildlife photos. Start with adjusting the exposure, contrast, and white balance to get a natural look. Cropping can also help in refining the composition and removing any distracting elements. A little tweak can go a long way in making your photos pop.
Using software like Lightroom and Photoshop allows for more advanced editing. Lightroom is great for general adjustments and batch processing. Photoshop, on the other hand, is perfect for detailed edits, like removing unwanted objects or enhancing certain features. Don’t go overboard, though—aim for a balance that keeps the image looking realistic.
If you cannot afford Photoshop, which can be very expensive, I suggest you use what I use. The company is called Gimp. It is a funny name with an amazing amount of tools to edit your photos. And, it is absolutely free and I have used it for years. Go to: https://www.gimp.org/ , download the program and see for yourself. I find it more than enough for most photographers when it comes to editing their photos.
Balancing between a natural look and artistic expression is key. Enhance your photos to bring out the best qualities without making them look overly edited. Saturation and sharpness adjustments should be subtle. The goal is to improve the photo, not to create something that looks artificial.
Organizing and storing your photo files is crucial for easy access and backup. Create a consistent file naming system and use folders to categorize your images. Cloud storage services offer the added benefit of accessing your files from anywhere and provide a safety net in case something happens to your local storage. Keeping your portfolio well-organized can save you tons of time and trouble in the long run.
